In this article, we are going to learn to make date range filter in react JS. So basically, we will create a filter which will filter out the data according to given date range. Here we will generate a database with some data using mockAPI which will provide number of data generated along with ID, name, key etc.
So adding this type of functionality in react application will make it more interactive. So let’s just make it step-by-step.
Pre-requisites to Make Date Range Filter in React JS
- Basic knowledge of React props, hooks etc.
- Basic knowledge of data fetching from API.
- Not necessary, but mock uses of API.
- Axios package
- react-date-range package
Creating Database
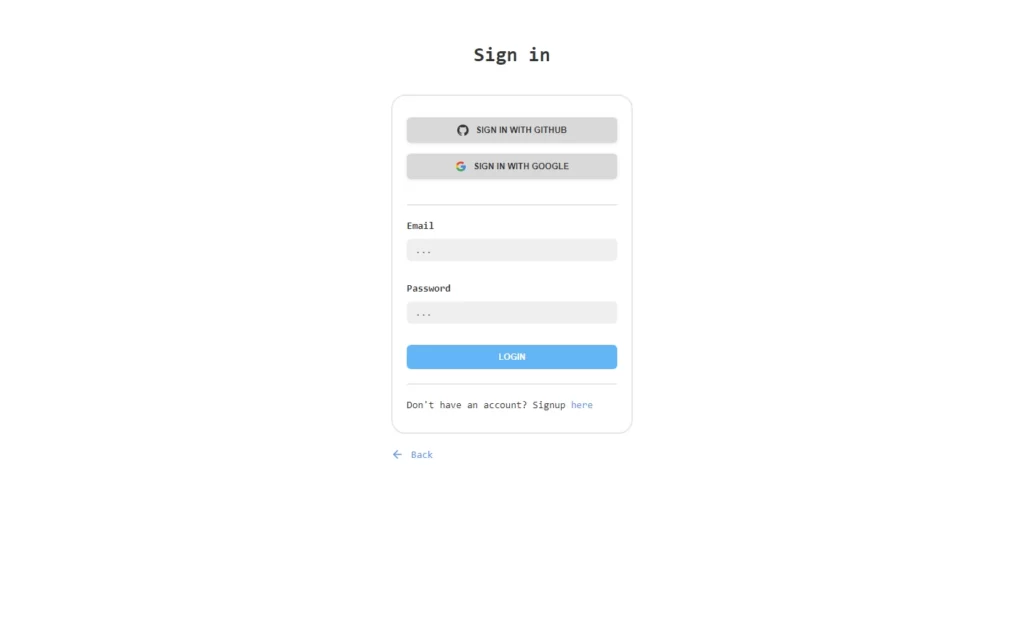
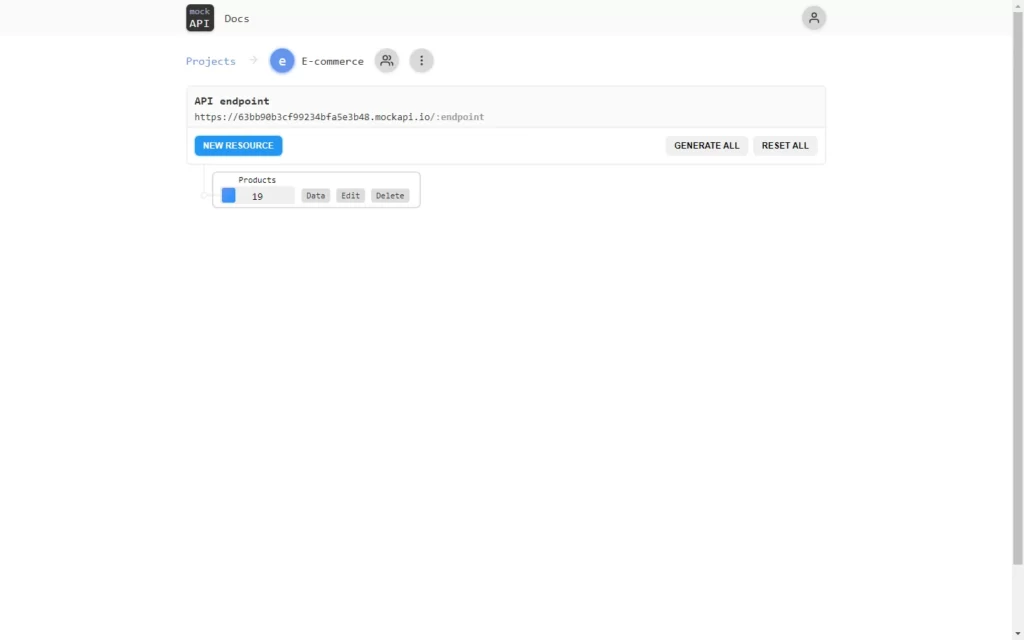
To create a database, we need to sign up in mockapi.io, you can use any other generator, but this generator is good and less effort one.
Step 1: log in
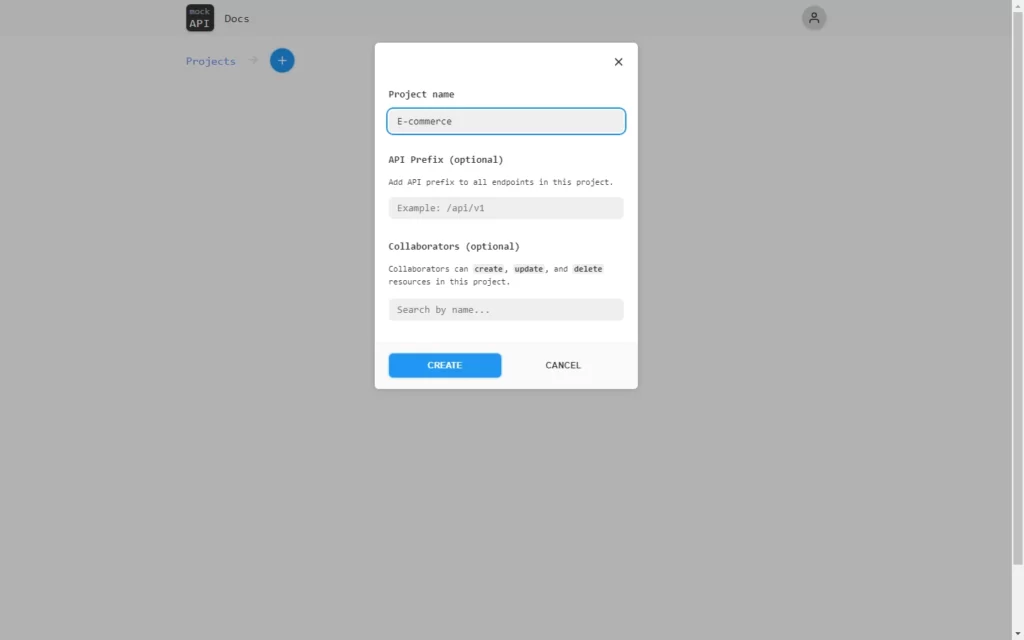
Step 2: Create Database
Step 3: Select Data Fields and Number of Data
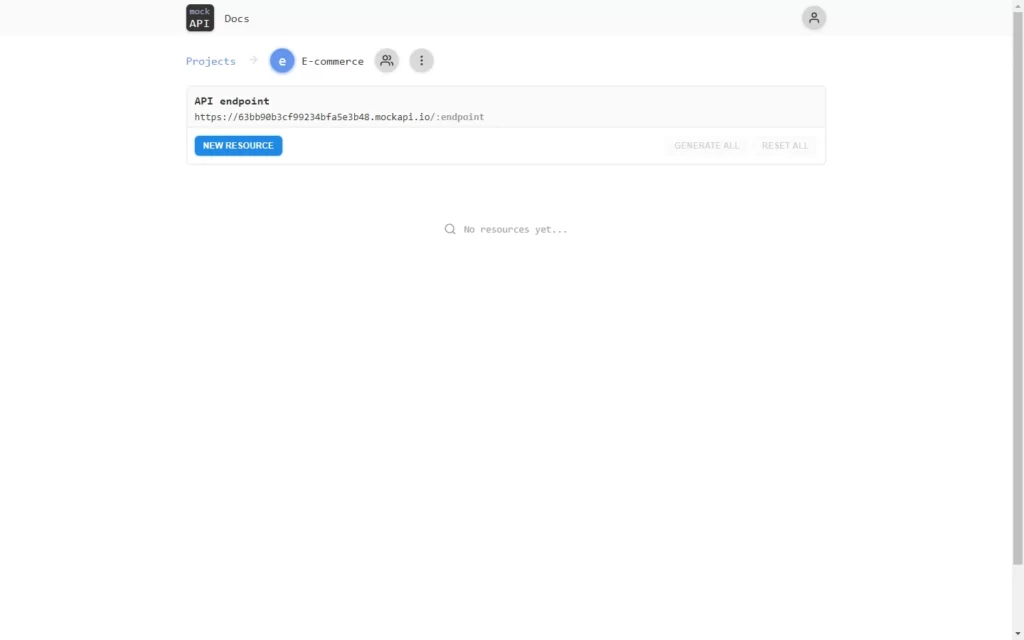
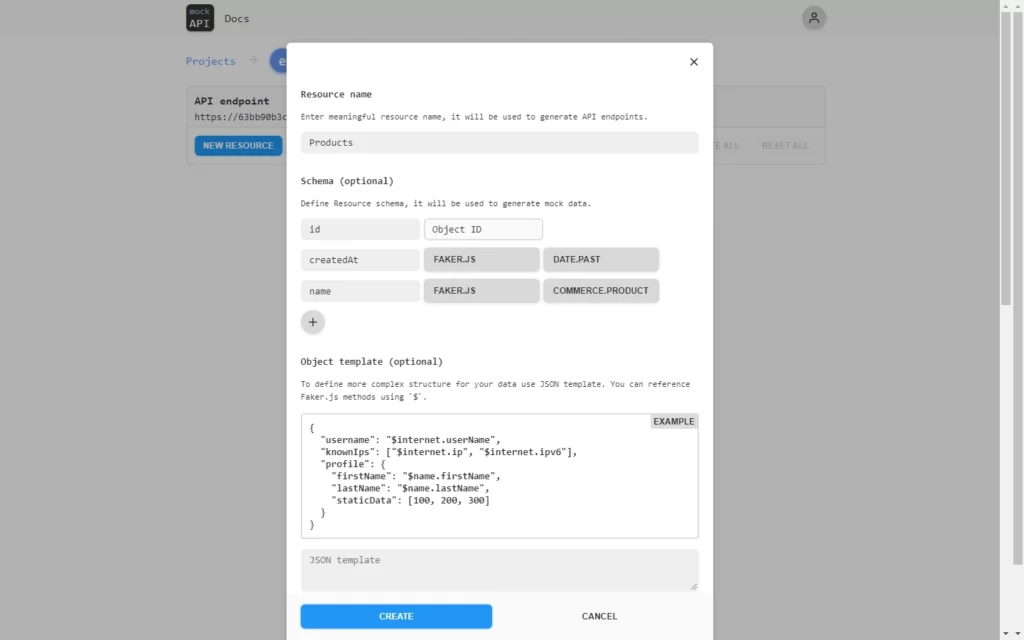
Setting up App Component
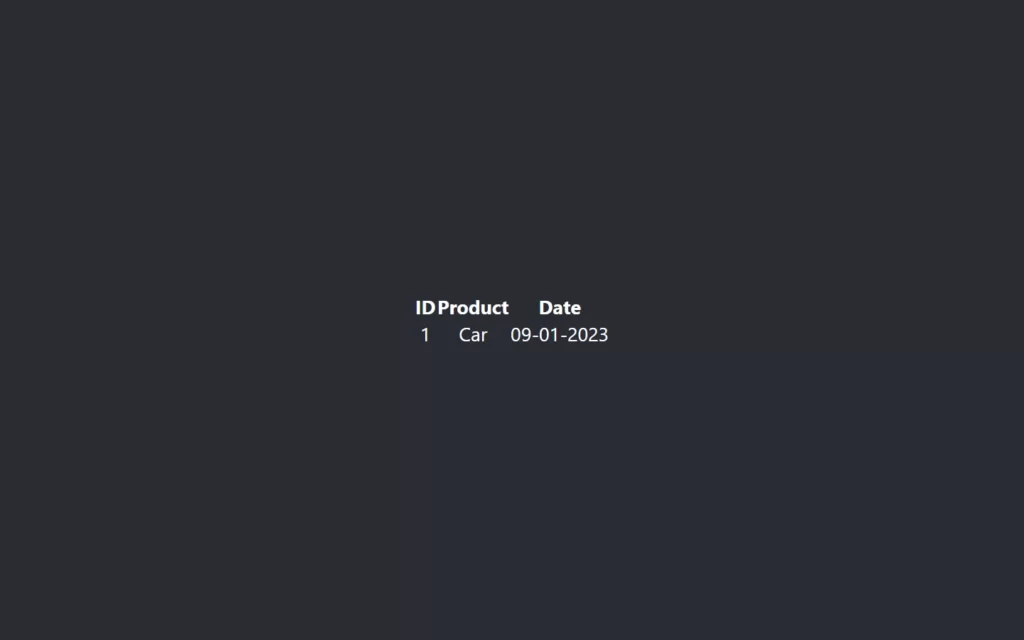
So let’s move on to the coding part, In the App.js component firstly, we will install a package named axios in our application, for that just put this command in the command prompt npm I axios and hit enter. After that, in a return statement, we created a table with some hard-coded data just to see if it is working properly.
import './App.css';

function App() {
  return (
    <div className="App">
      <header className="App-header">
        <table>
          <thead>
            <tr>
              <th>ID</th>
              <th>Product</th>
              <th>Date</th>
            </tr>
          </thead>
          <tbody>
            <tr>
              <td>1</td>
              <td>Car</td>
              <td>09-01-2023</td>
            </tr>
          </tbody>
        </table>
      </header>
    </div>
  );
}

export default App;
Fetching Data From API
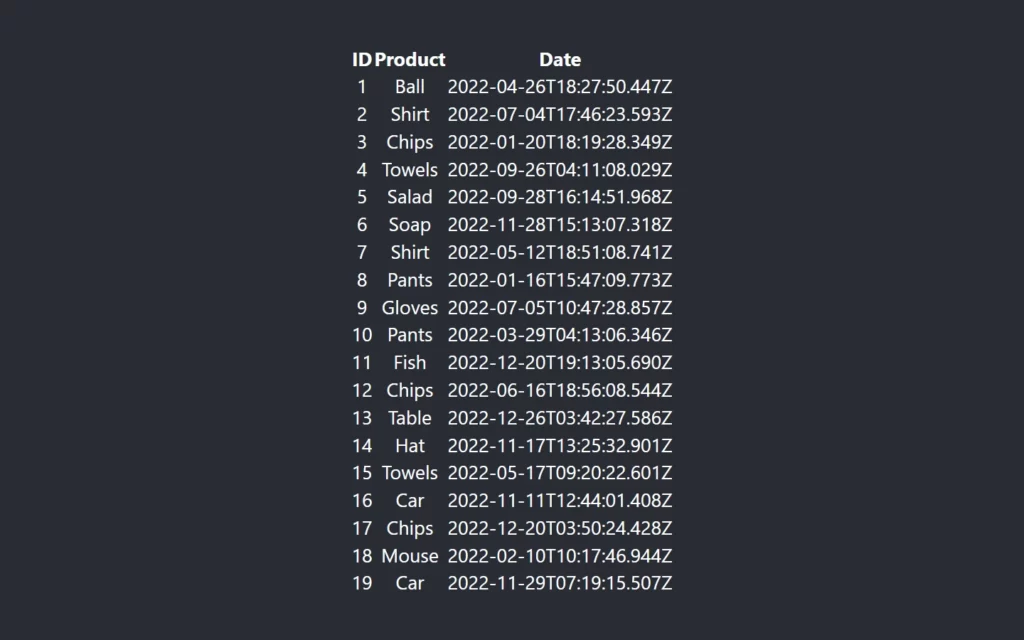
Now we will fetch the data from our API, for that we have to import Axios so that we can fetch the data. Then we imported the useState hook so that we could put the data in it, and also we imported useEffect hook so that data from API can be fetched before the application gets reloaded.
We have created a product state with an initial empty array. And in useEffect we have called our Axios to fetch the Data. For that, we have added the axios.get() method, in which we provided API URL or you can say endpoint URL of our project named product. This URL will be provided by the website itself above your database name.
Now to catch the data we used the then() method, and we just assigned the data to the product state. After this, we need to change our hard-coded data to dynamic data, for that in a return statement, we will use the map() method to get each data in the product state one by one. Basically, you can say we looped the data to get every data. Here we have added only three fields ID, name, and createdAt.
import './App.css';
import {useEffect, useState} from 'react';
import axios from 'axios';

function App() {
  const [products, setProducts] = useState([]);
  useEffect(()=>{
    axios.get("https://63bb90b3cf99234bfa5e3b48.mockapi.io/Products")
    .then((response)=>{
      setProducts(response.data);
    })

  },[])
  return (
    <div className="App">
      <header className="App-header">
        <table>
          <thead>
            <tr>
              <th>ID</th>
              <th>Product</th>
              <th>Date</th>
            </tr>
          </thead>
          <tbody>

              {products.map((product)=>{
                return(
                  <tr>
                    <td>{product["id"]}</td>
                    <td>{product["name"]}</td>
                    <td>{product["createdAt"]}</td>
                  </tr>
                );
              })}

          </tbody>
        </table>
      </header>
    </div>
  );
}

export default App;
Adding Calendar
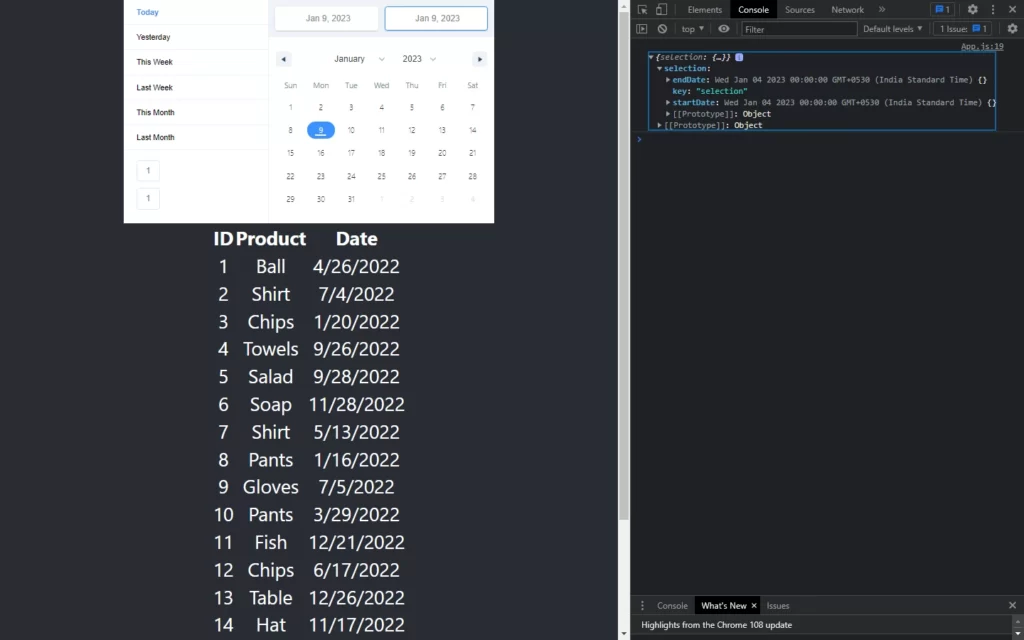
Now we have done fetching data, then we need to add the calendar to get the range of dates. For that, we have installed a package named react-date-range, which allows us to get date range objects. Then we imported two default CSS files for the calendar which are available in the package itself. After that, we initiated the DateRangePicker component with ranges prop, in which we have passed a constant named selection range, here we have added 3 variables start, end, and key. Also, we added a function when ranges will be changed, this code also available on GitHub provided by the creator of this package.
Now if we select any date it will return an object with information of the date.
import './App.css';
import {useEffect, useState} from 'react';
import axios from 'axios';
import { DateRangePicker } from 'react-date-range';
import 'react-date-range/dist/styles.css'; // main style file
import 'react-date-range/dist/theme/default.css'; // theme css file

function App() {
  const [products, setProducts] = useState([]);
  useEffect(()=>{
    axios.get("https://63bb90b3cf99234bfa5e3b48.mockapi.io/Products")
    .then((response)=>{
      setProducts(response.data);
    })

  },[])

  const handleSelect = (date) =>{
    console.log(date);
  };

  const selectionRange = {
    startDate: new Date(),
    endDate: new Date(),
    key: 'selection',
  }
  return (
    <div className="App">
      <header className="App-header">
      <DateRangePicker
        ranges={[selectionRange]}
        onChange={handleSelect}
      />
        <table>
          <thead>
            <tr>
              <th>ID</th>
              <th>Product</th>
              <th>Date</th>
            </tr>
          </thead>
          <tbody>

              {products.map((product)=>{
                let date = new Date(product["createdAt"]);
                return(
                  <tr>
                    <td>{product["id"]}</td>
                    <td>{product["name"]}</td>
                    <td>{date.toLocaleDateString()}</td>
                  </tr>
                );
              })}

          </tbody>
        </table>
      </header>
    </div>
  );
}

export default App;
Adding Functionality of Date Selection
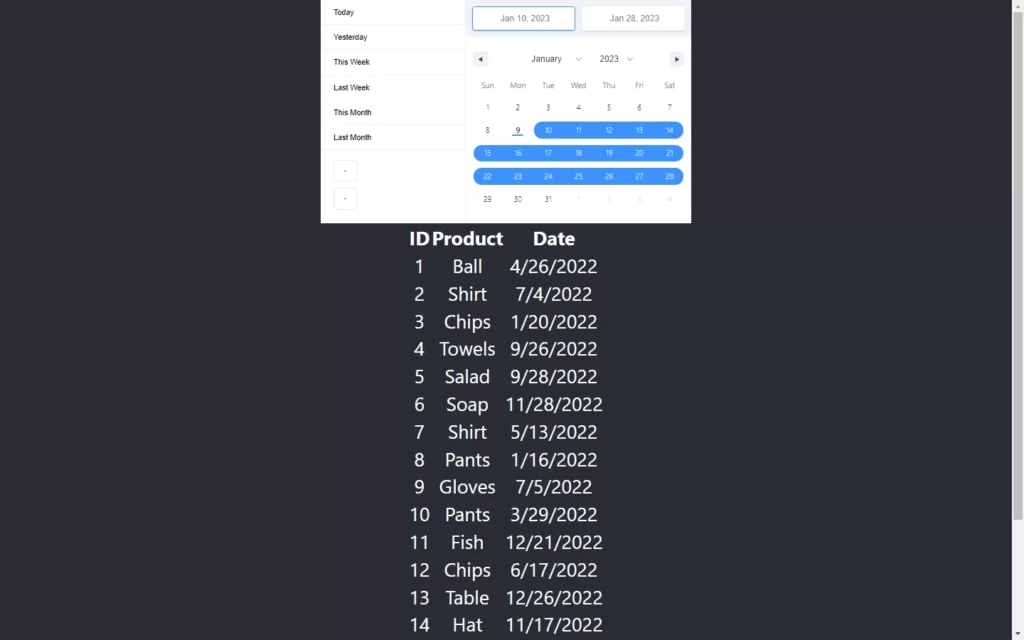
Okay, now we need to add functionality so that we can do range selection. In the above code, we can only get the object of the selected date, but we are unable to do range selection. So let’s fix it.
For that, we have added two states, one for the start date and another for the end date. So let’s modify the handleSelect function, in this, we are just setting our states with date.selection.startDate and date.selection.endDate. These will help us to make a selection range between these two dates.
const [startDate,setStartDate]= useState(new Date());
const [endDate,setEndDate]= useState(new Date());

const handleSelect = (date) =>{
    setStartDate(date.selection.startDate);
    setEndDate(date.selection.endDate);
  };

  const selectionRange = {
    startDate: startDate,
    endDate: endDate,
    key: 'selection',
  }
Getting Data According to Date Range
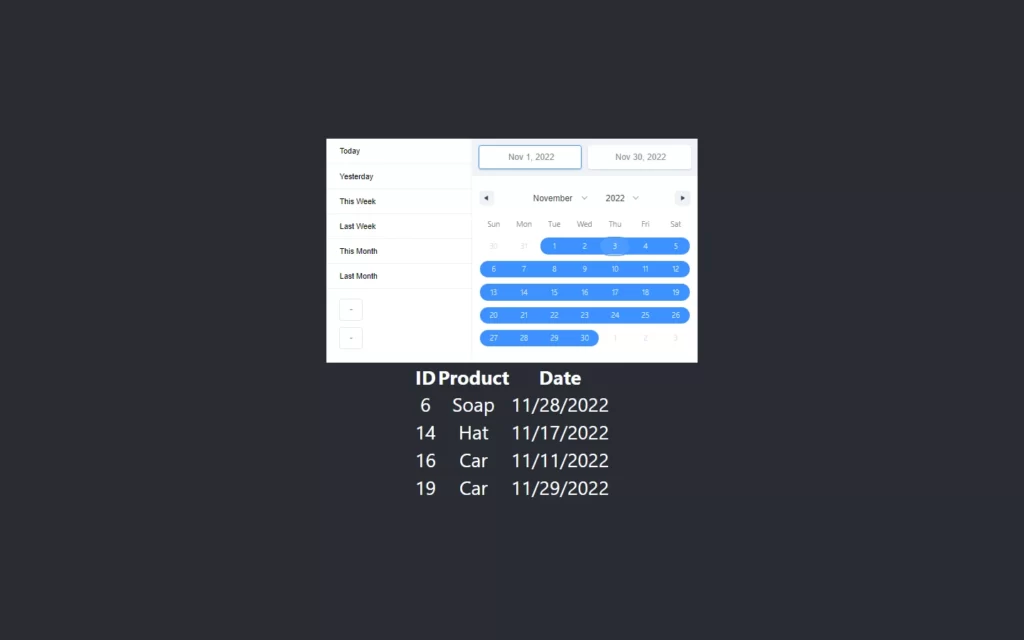
Now we are almost done, we just need to filter out data according to the given date range. For that, we have created another state named allProducts, so the reason behind this is to perform operations on the data without resetting previous data. So at fetching time, we have assigned response data in this state.
After that, we created a filtered variable to store filtered data, in this, we applied the filter() method on allProducts states, where we fetched the product date in the product date variable. Lastly, we added conditions to get filtered data, here we are just checking where productDate should be between startDate and endDate().
const [allProducts, setAllProducts] = useState([]);

useEffect(()=>{
    axios.get("https://63bb90b3cf99234bfa5e3b48.mockapi.io/Products")
    .then((response)=>{
      setProducts(response.data);
      setAllProducts(response.data);
    })

  },[])
const handleSelect = (date) =>{
    let filtered = allProducts.filter((product)=>{
      let productDate = new Date(product["createdAt"]);
      return(productDate>= date.selection.startDate &&
        productDate<= date.selection.endDate);
    })
    setStartDate(date.selection.startDate);
    setEndDate(date.selection.endDate);
    setProducts(filtered);
  };
Full Source Code to Make Date Range Filter in React JS
App.js
import './App.css';
import {useEffect, useState} from 'react';
import axios from 'axios';
import { DateRangePicker } from 'react-date-range';
import 'react-date-range/dist/styles.css'; // main style file
import 'react-date-range/dist/theme/default.css'; // theme css file

function App() {
  const [products, setProducts] = useState([]);
  const [allProducts, setAllProducts] = useState([]);
  const [startDate,setStartDate]= useState(new Date());
  const [endDate,setEndDate]= useState(new Date());

  useEffect(()=>{
    axios.get("https://63bb90b3cf99234bfa5e3b48.mockapi.io/Products")
    .then((response)=>{
      setProducts(response.data);
      setAllProducts(response.data);
    })

  },[])

  const handleSelect = (date) =>{
    let filtered = allProducts.filter((product)=>{
      let productDate = new Date(product["createdAt"]);
      return(productDate>= date.selection.startDate &&
        productDate<= date.selection.endDate);
    })
    setStartDate(date.selection.startDate);
    setEndDate(date.selection.endDate);
    setProducts(filtered);
  };

  const selectionRange = {
    startDate: startDate,
    endDate: endDate,
    key: 'selection',
  }
  return (
    <div className="App">
      <header className="App-header">
      <DateRangePicker
        ranges={[selectionRange]}
        onChange={handleSelect}
      />
        <table>
          <thead>
            <tr>
              <th>ID</th>
              <th>Product</th>
              <th>Date</th>
            </tr>
          </thead>
          <tbody>

              {products.map((product)=>{
                let date = new Date(product["createdAt"]);
                return(
                  <tr>
                    <td>{product["id"]}</td>
                    <td>{product["name"]}</td>
                    <td>{date.toLocaleDateString()}</td>
                  </tr>
                );
              })}

          </tbody>
        </table>
      </header>
    </div>
  );
}

export default App;
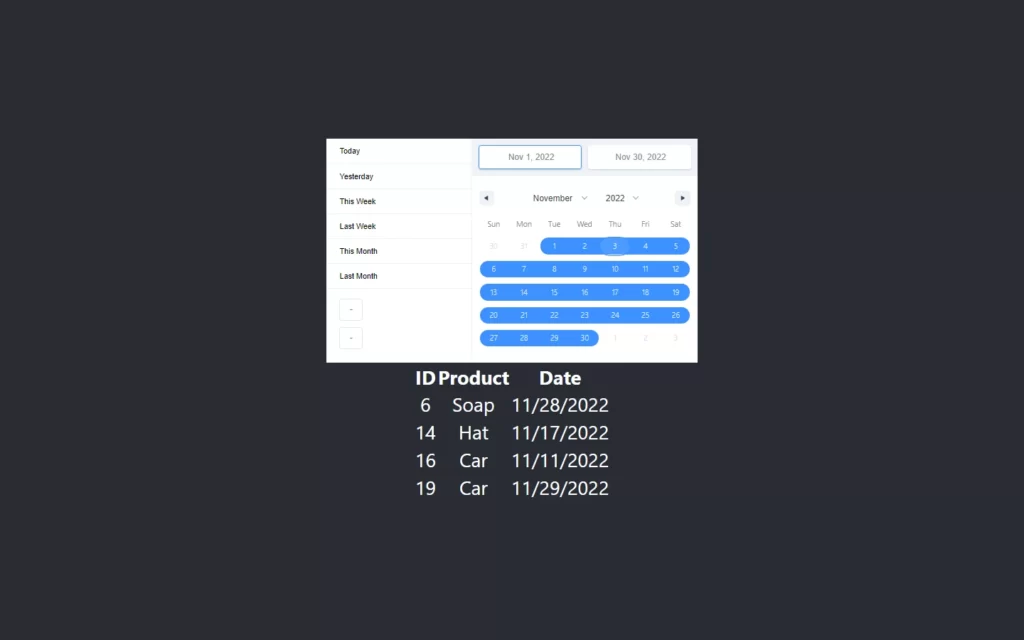
Output Of Date Range Filter in React JS
Checkout Awesome Video Reference:
You may also like:



[…] Posted on Jan 25 • Originally published at reactjsguru.com […]