
In this part, we will take a look at the react form tutorial. As we know in HTML, forms are very useful. Same here, react forms are pretty much useful, and it is easy to learn as well. If you’re familiar with HTML forms, then it won’t be too much hard for you. We will try to relate this React form tutorial to the HTML forms tutorial, so it will be relatable and easy to learn.
There are two types of forms in react : (1) controlled form, and (2) uncontrolled form. We will see about that in an upcoming article, for now, we will see the basics of form.
React Form vs. HTML Form
HTML forms are pretty much similar to react forms. As we know, HTML tags are written in ReactJS, then it becomes JSX. So it is much more similar to HTML, but there are some exceptions In HTML, elements are usually controlled by DOM but in React, elements are usually controlled by components. Also, some elements are quite different from each other.
Adding React Form
Let’s see the normal form, which can be created in HTML:
<html>
<head><title>HTML Forms</title></head>
<body>
		<form>
      <label>Enter your name:
        <input type="text" />
      </label>
    </form>
</body>
So this is the HTML form with which are too much familiar, Simply this form has a label with some text and an input field. Now let’s see the same form using the react form:
function MyForm() {
  return (
    <form>
      <label>Enter your name:
        <input type="text" />
      </label>
    </form>
  )
}
const root = ReactDOM.createRoot(document.getElementById('root'));
root.render(<MyForm />);
As we can see, both of the Forms are pretty similar right?, because react used JSX, and we have already learned about JSX, and how is it similar to HTML? both forms look like we have copied and pasted them, nothing else. This is the default form, but note that we will mostly use controlled forms because controlled forms are better, and mostly they are usable. This above form is an uncontrolled form.

Handling React Form
import { useState } from 'react';
import ReactDOM from 'react-dom/client';

function MyForm() {
  const [name, setName] = useState("");

  return (
    <form>
      <label>Enter your name:
        <input
          type="text"
          value={name}
          onChange={(e) => setName(e.target.value)}
        />
      </label>
    </form>
  )
}

const root = ReactDOM.createRoot(document.getElementById('root'));
root.render(<MyForm />);
So this is the very basic controlled form in which we have the same form, but we used here useState hook to store the data into the state, so basically, it is handled by react component alternatively by react itself.
In HTML, forms are handled by DOM itself but in React, we can handle the form with components. And if data is handled by a component, then there will minimum of one state to store the data.
Submitting The React Form
import { useState } from 'react';
import ReactDOM from 'react-dom/client';

function MyForm() {
  const [name, setName] = useState("");

  const handleSubmit = (event) => {
    event.preventDefault();
    alert(`The name you entered was: ${name}`)
  }

  return (
    <form onSubmit={handleSubmit}>
      <label>Enter your name:
        <input
          type="text"
          value={name}
          onChange={(e) => setName(e.target.value)}
        />
      </label>
      <input type="submit" />
    </form>
  )
}

const root = ReactDOM.createRoot(document.getElementById('root'));
root.render(<MyForm />);
In this form, we are submitting the form using onSubmit attributes, if you remember we have action attributes in our HTML forms, So the same thing will onSubmit do. Here we have passed a function that onSubmit will trigger, and this function just adds an alert message with the entered name.

Multiple Input Fields
import { useState } from 'react';
import ReactDOM from 'react-dom/client';

function MyForm() {
  const [inputs, setInputs] = useState({});

  const handleChange = (event) => {
    const name = event.target.name;
    const value = event.target.value;
    setInputs(values => ({...values, [name]: value}))
  }

  const handleSubmit = (event) => {
    event.preventDefault();
    alert(inputs);
  }

  return (
    <form onSubmit={handleSubmit}>
      <label>Enter your name:
      <input
        type="text"
        name="username"
        value={inputs.username || ""}
        onChange={handleChange}
      />
      </label>
      <label>Enter your age:
        <input
          type="number"
          name="age"
          value={inputs.age || ""}
          onChange={handleChange}
        />
        </label>
        <input type="submit" />
    </form>
  )
}

const root = ReactDOM.createRoot(document.getElementById('root'));
root.render(<MyForm />);
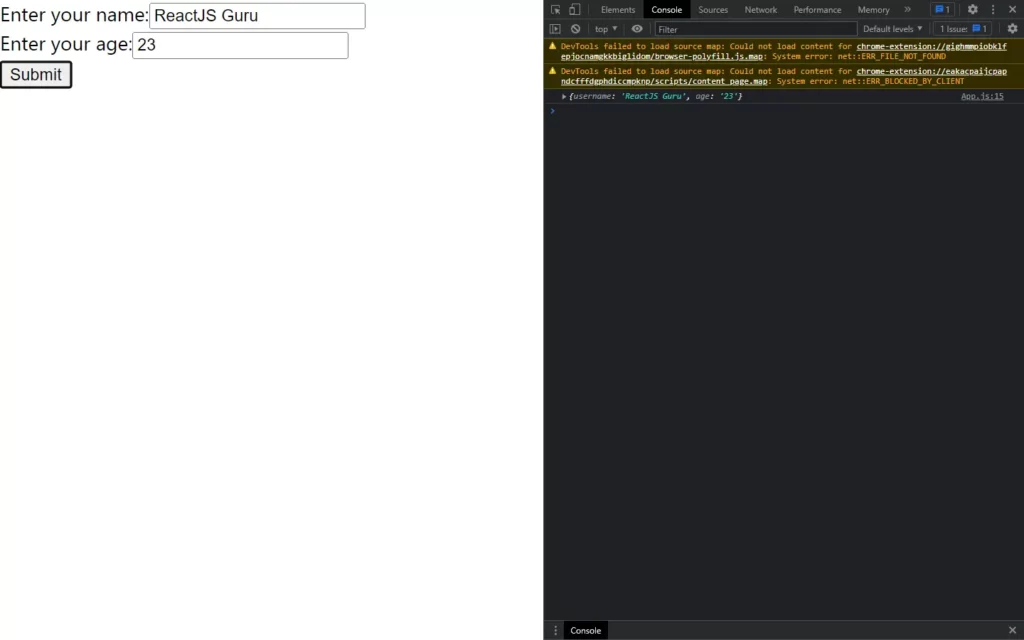
Similar to HTML forms, we can handle multiple input fields in React by adding a name field to them. In the above example, we have created another field named age, and also we have already a username field. Here we are giving a function at onChange event listener, so to access these fields we need to write event.target.name to access a particular field with its name, and to access its value we need event.target.value. All of these examples we have done in controlled form, we will learn about types of form next article.
Textarea
In HTML, we used to write the text area between the starting tag and the ending tag.
<textarea>
  Content of the textarea.
</textarea>
This is how we write our textarea using <textarea></textarea> and it has some content of text, but in react this thing works differently.
import { useState } from 'react';
import ReactDOM from 'react-dom/client';

function MyForm() {
  const [textarea, setTextarea] = useState(
    "The content of a textarea goes in the value attribute"
  );

  const handleChange = (event) => {
    setTextarea(event.target.value)
  }

  return (
    <form>
      <textarea value={textarea} onChange={handleChange} />
    </form>
  )
}

const root = ReactDOM.createRoot(document.getElementById('root'));
root.render(<MyForm />);
As we can see in our React code, we have written a text area field here which has a value attribute. We will use the state to add or update the value for the text area. It seems pretty much harder and more complex than HTML code, but here we have a difference.
Select
Select also makes some difference in react in comparison to HTML. In HTML, we used to write select element which has some options, and we usually write selected attributes, so by default, that option will be selected.
<select>
  <option value="Ford">Ford</option>
  <option value="Volvo" selected>Volvo</option>
  <option value="Fiat">Fiat</option>
</select>
In react, we need to again useState hook to do the same work as selected attribute works.
function MyForm() {
  const [myCar, setMyCar] = useState("Volvo");

  const handleChange = (event) => {
    setMyCar(event.target.value)
  }

  return (
    <form>
      <select value={myCar} onChange={handleChange}>
        <option value="Ford">Ford</option>
        <option value="Volvo">Volvo</option>
        <option value="Fiat">Fiat</option>
      </select>
    </form>
  )
}
We have here added value to our select tag directly, and it has a value attribute. We have added a default value in our useState hook, and again we have added this value using event.target.value.
Check out the video reference here:


[…] this part, we will learn about react forms, controlled and uncontrolled components. React forms are little different from actual HTML forms because form elements keep the initial state. There are […]
[…] this article, we will learn about form validation in react functional component. We have seen about react forms in previous article, validation is the important part of the form. If you’re familiar with HTML […]